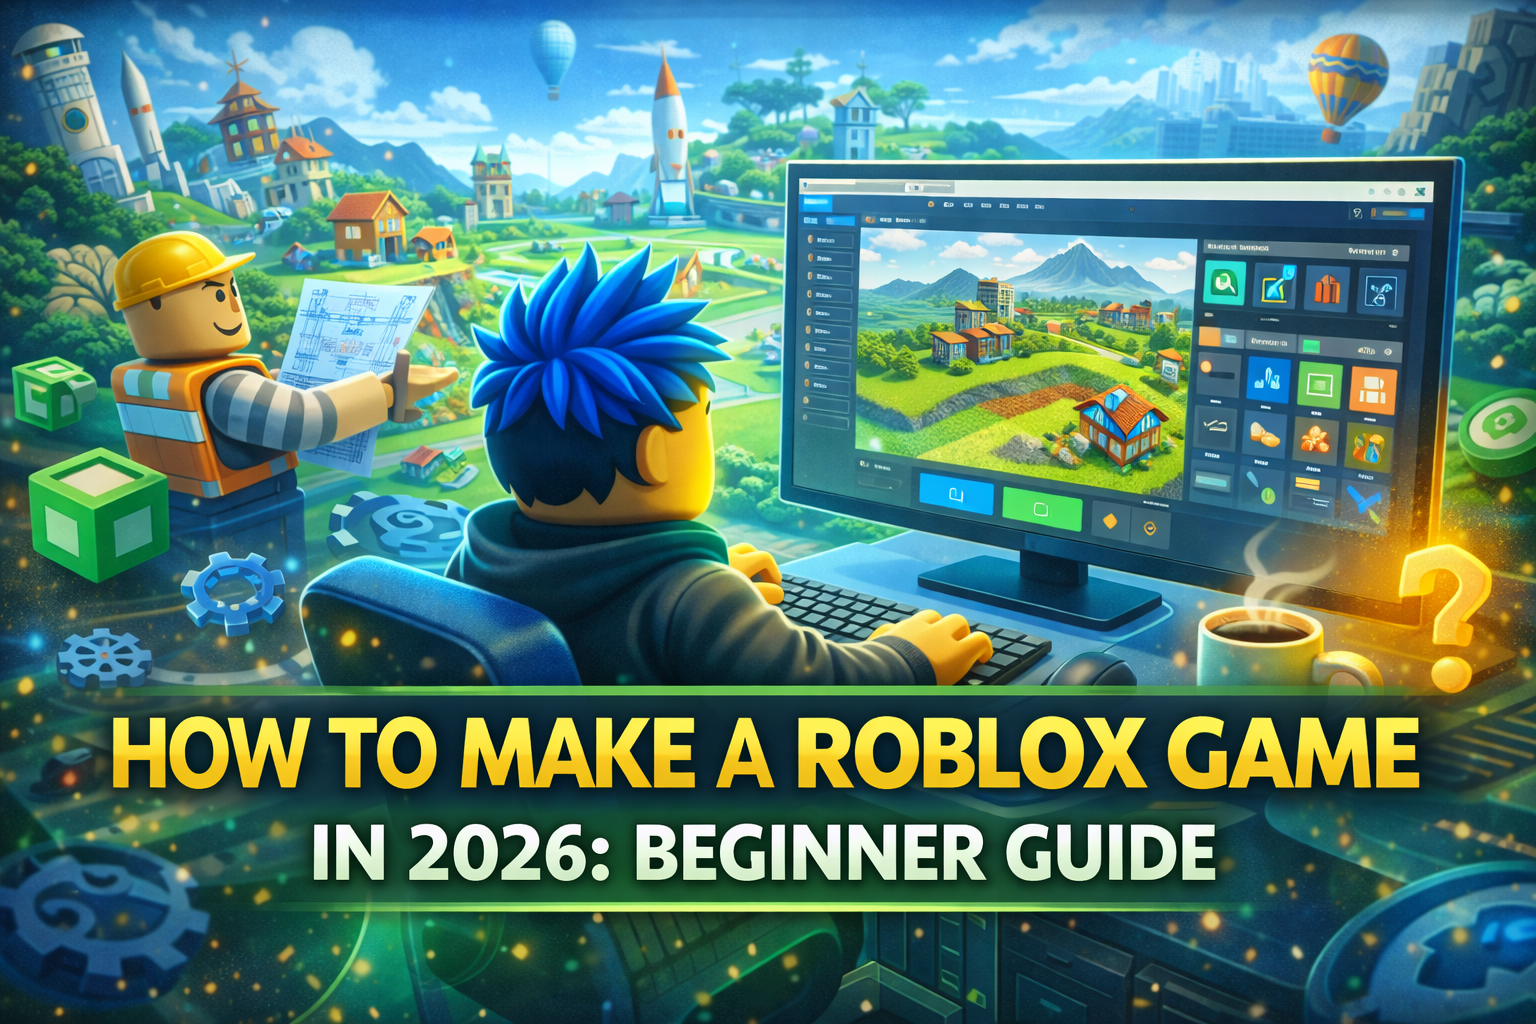
Creating your own Roblox game has never been easier—or more rewarding—in 2026. With Roblox Studio’s updated interface (including the new flexible UI and Liquid Glass elements), millions of free assets in the Creator Store, and powerful Lua scripting, anyone can build and publish an experience (what Roblox calls games) in hours. Over 70 million daily users explore new titles, and top games earn real money through Robux sales, game passes, and developer products.
This guide walks you through every step from zero to publishing your first playable game. No prior coding or design experience needed—we’ll start simple and build from there. Let’s create something awesome! ⭐
Step 1: Set Up Your Roblox Account & Download Roblox Studio (5 Minutes)
- Go to roblox.com and create a free account if you don’t have one (must be 13+ for full features).
- Verify your email and enable 2-step authentication for security.
- Click Create in the top menu → Start Creating → Download Roblox Studio (free for Windows/Mac).
- Install and launch Studio → Log in with your Roblox account.
Pro Tip: Use a strong password—your account holds your games and potential earnings.
System Requirements (2026):
- Windows 10/11 or macOS 11+
- 4GB RAM (8GB+ recommended)
- Decent internet (Studio syncs assets online)
Step 2: Understand the New 2026 Roblox Studio Interface
Roblox rolled out a flexible, customizable UI in late 2025–2026 with expanded menus, consolidated Play/Test controls, and a Viewport menu for debugging.
- Top Ribbon: Home, Model, View, Test, Plugins tabs—everything’s here now.
- Toolbox (right side): Search Creator Store for free/paid models, audio, plugins.
- Explorer (right): Lists all objects in your game.
- Properties (bottom-right): Edit colors, sizes, scripts.
- Viewport (main area): 3D workspace where you build.
Quick Navigation Tip: Press F11 for full-screen, Ctrl + Shift + P for command bar.
Step 3: Create Your First Game – Choose a Template
Don’t start from scratch—templates give you a head start.
- In Studio → New (or File → New).
- Pick a template:
- Baseplate → Blank slate (best for learning).
- Obby → Obstacle course (super popular for beginners).
- Line Runner or Racing → If you want action.
- Click Create → Your game opens!
Beginner Recommendation: Start with Obby—it includes checkpoints, kill bricks, and basic scripts you can modify.
Step 4: Build Your Game World (No Coding Yet)
Use the four core tools (big icons on top):
- Select (arrow): Pick objects.
- Move (arrows): Drag parts.
- Scale (box handles): Resize.
- Rotate (circles): Spin objects.
Quick Build Steps for an Obby:
- Delete default parts if unwanted (right-click → Delete).
- Insert Parts: Home tab → Part button → Choose Block, Wedge, etc.
- Color them: Properties → Color → Pick bright ones.
- Position: Use Move tool → Snap to grid (hold Ctrl for precision).
- Add terrain: Terrain tab → Generate or paint hills/water.
- Drag free models: Toolbox → Search “checkpoint” or “kill brick” → Drag into workspace (look for blue checkmark = verified/safe).
Tip: Anchor parts (Properties → Anchored = true) so they don’t fall!
Step 5: Add Basic Interactivity with Scripts (Lua Basics)
Roblox uses Lua—easy language similar to Python.
- Insert Script: In Explorer → Right-click ServerScriptService → Insert Object → Script.
- Double-click script → Delete “print” line → Paste simple code:
Lua
-- Make a part kill players on touch
script.Parent.Touched:Connect(function(hit)
    local player = game.Players:GetPlayerFromCharacter(hit.Parent)
    if player then
        hit.Parent:BreakJoints()  -- Kills player
    end
end)- Drag script into a “kill brick” Part.
Even Easier: Use free scripts from Toolbox (search “kill brick script”) → Insert → Test!
Step 6: Test Your Game in Studio
- Click Play (F5) → Solo test.
- Play Here → Test with friends (Team Create).
- Start Server → Simulate multiplayer.
Fix bugs: Check Output window (View → Output) for red errors.
Step 7: Publish & Share Your Game
- File → Publish to Roblox (or Ctrl + Shift + P).
- Set name, description, thumbnails.
- Choose Public (anyone can play) or Private (friends only).
- Click Create → Game goes live!
After Publish:
- Roblox.com → Create → Experiences → Your game → Configure (add game passes, thumbnails).
- Share link: roblox.com/games/YOUR_GAME_ID/Name
Step 8: Monetize & Improve (Next Level)
- Add Game Passes (e.g., double jumps) → Earn Robux.
- Use Developer Products for one-time buys.
- Promote: Post on X, Discord, YouTube.
- Update: Add new levels, events, brainrot themes (viral in 2026!).
Top Beginner Ideas 2026:
- Simple Obby with memes.
- Tycoon with auto-farms.
- Hangout RP room.
Common Beginner Mistakes & Fixes ⚠️
- Laggy game: Too many parts → Union them (Model tab).
- Scripts broken: Check Output; use :WaitForChild().
- Can’t publish: Verify email; no bans.
- No players: Add thumbnail + good name/description.
Resources to Level Up in 2026
- Official: create.roblox.com/docs/tutorials
- YouTube: PrizeCP Roblox (2026 series), AlvinBlox.
- DevForum: devforum.roblox.com
- Community: Join Roblox Developer Discord.
You’ve just learned the full process—now go make something! Publish your first game and share the link in comments. What’s your game idea? 🎮